

Hello fellow scrappers! It's Heather McMahon back with you today to welcome
you to another photo tutorial in our Design Team 'Moment To Shine' series.
Today we have a stunning layout by Design Team member Tanya Dudkina from
Russia. Tanya used our current challenge HERE as her inspiration. Tanya is
sharing a photo tutorial showing how she made her bold yet so beautiful project.

Tanya was inspired by the pinks and blues, the bling & the glamorous feel.

Let's learn a little about Tanya....

"Hello everyone! My name is Tanya Dudkina & I live in the wonderful city of
Saint-Petersburg, Russia, with my hubby & with my scrapbooking
everywhere. I love everything about creating original & interesting things.
I can't stop testing new products, trying new techniques & making
new projects - these make me really happy.
I also have my perfect job - I'm an online scrapbooking educator. This brings
me so much joy & so many new friends & emotions. I'm thankful for
each day of my life & you can see a little part of it in my blog here,
So let's see what I have prepared today for you. I'm going to show
you how you can easily make a bright & sweet project."
-----------------------------------------------------------------------------
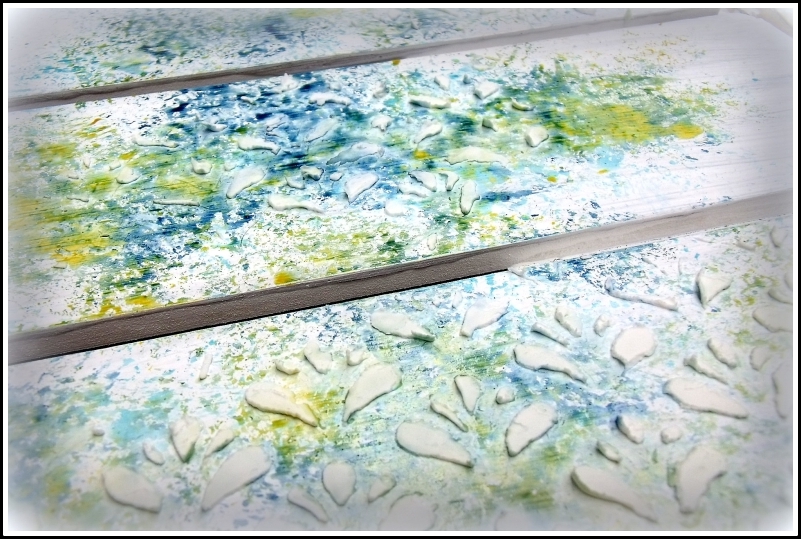
1. Choose your papers & find some tissue paper - this is a perfect embellishment if you
want to make light & puffy layers. I chose a diagonal print for the background
layer, then some pink & starry tissue paper &, lastly, a floral printed paper on top.

2. Now glue everything together, folding the tissue paper as you go. Cut the wavy edge on the top layer with a Spellbinders border die for a gorgeous finish.

3. Add layers using a variety of products. I used paper cuttings, doily die-cuts, washi tape & my new favorite embellishment - colorful juice straws. The straws sit in the folds of the tissue paper perfectly. Use foam adhesive tape to make each layer a bit higher than the previous one.

4. Make a little wreath by forming wire into a circle, then wrap with raffia & add flowers.

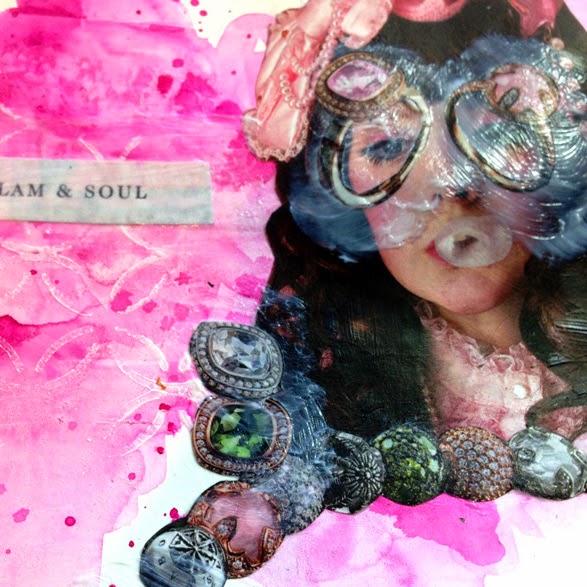
5. Arrange your photo, some flowers & other embellishments inside the wreath.

6. Add fine chipboard & small details like butterflies around the wreath cluster.
On the other side add the title & some washi tape.
On the other side add the title & some washi tape.

7. Use tiny pieces like sequins & wooden shapes to add in extra details. I love these!

8. Create a confetti effect with your sequins by placing them so they appear
to "fall down" from the top of the layout.

9. Decorate the straws with a trim & subtitle. I used wooden letters. This is my favourite part!

10. Let's add some shine! Glue glitter onto the alphas with
Ranger Glossy Accents & remove the excess.

11. Take a small brush & add some random splashes of your favourite acrylic paints.
I also covered the title with glitter after that.

The finished project.
Tanya's layers are a striking feature of her work.

A subtitle on paper straws - how clever!

Tanya has used a stunning combination of colours & elements on her page.

The products Tanya used:

Supplies list:
Paper - Crate Paper & Tilda
Tissue paper
Party straws
Washi tape - My Mind's Eye & Freckled Fawn
Flowers, metal trinkets, resins, crystals & glitter - Prima Marketing
Enamel dots - My Mind's Eye
Chipboard "Captured moments" - 2Crafty
Chipboard frame - Joypaper
Wooden letters - Freckled Fawn
Butterfly die-cuts - Kaisercraft
Border die - Spellbinders
Doily die - Cheery Lynn Design
Acrylic paints - Decola
Wire, raffia, sequins, trims & paintbrush
Wire, raffia, sequins, trims & paintbrush
Please leave a comment for Tanya if you enjoyed her tutorial
& remember every comment you leave puts you in the running
to win our $50 FOLLOWERS' PRIZE from The Dusty Attic!
Remember - there are only 3 days left to enter this month's challenge!
To be in with a chance to win 1 of our 11 amazing prizes you'll need to be quick!
You can find the challenge details HERE.
Complied & posted by Heather McMahon


.JPG)

%2B-%2BCopy.jpg)


